MusicOne Windows · Automation software
Importing Data From WideOrbit
Import new WideOrbit audio data into M1: export the whole library or selected WideOrbit categories.
Updated
If you have only a few songs or non-music units to add to M1, it is simple to just type in the new data onto M1’s audio cards. If you have added a lot of new audio, you can do an export of data from WideOrbit (selecting just the W.O. ‘categories’ that you need), then import it all into M1 with a couple of clicks. The two videos here show how to first export the entire WideOrbit library data, or to select and export just a few of the WideOrbit categories.
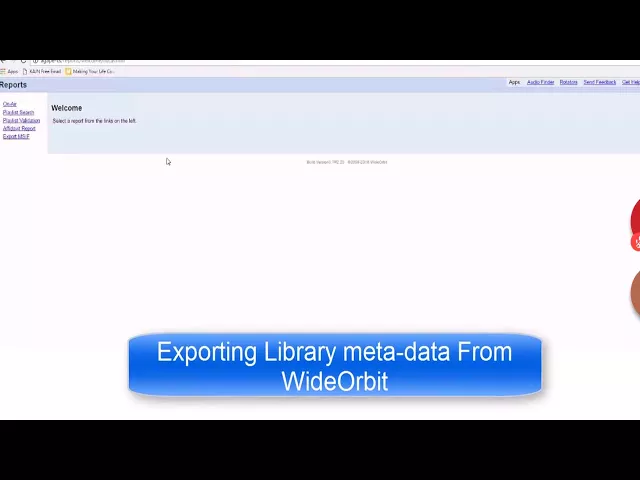
Watch the video on YouTube: Automation - WideOrbit - Exporting Meta-Data for Import into M1

Watch the video on YouTube: Automation - WideOrbit - Importing Library Into Music 1
Export the data from WideOrbit
Go to WideOrbit’s report section and look for the Export MSIF command. MSIF stands for Music Scheduler Import File.
You may have several stations on this screen. Select the station you want.
When the category window first appears, everything is highlighted. You’ll probably want to clear all, then select just the categories you want to export. You might leave out commercials or daily voice tracks, for example.
Once your categories are set, click the Export MSIF button at the bottom. It makes a report.
By default, WideOrbit saves that file in a subfolder named Exported MSIF, under the radio station’s name, on the server. The file is ready to import into Music 1.
WideOrbit always gives the file the same name, which looks like "spot data" slightly misspelled. It’s a one-use file: you export the data, import it into Music 1, and you’re done with it. The next time you export from WideOrbit, the new file has the same name and overwrites this one.
Import it into Music 1
In Music 1, click to the Tracks view and open the menu Import from WideOrbit.
Go to the place where the spot data file is and select it.
After this first time, Music 1 remembers the location. In future you just export from WideOrbit, then click Import from WideOrbit in Music 1, and the file is already selected.
The new songs come into the New Songs category, and any non-music units you’ve added to WideOrbit come into the New Tracks category. From there you can drag them into your active categories.
When it imports, Music 1 checks for duplicates and won’t import anything that’s already in the Music 1 library.